How to Size a Compressor Properly (Step-by-Step Guide)
Choosing the right compressor isn’t just about picking a CFM number off a spec sheet. If you get it wrong, your equipment won’t perform properly — even if the compressor looks powerful enough on paper.
This guide walks you through a simple step-by-step process to size a compressor correctly for your application.
Step 1: Identify Your Air Requirement (CFM)
Start with the tool or equipment you’re running.
Every air-powered tool has a required airflow, usually measured in CFM (cubic feet per minute).
Typical examples:
4mm blasting nozzle → ~70 CFM
6.5mm nozzle → ~140 CFM
8mm nozzle → ~250 CFM
Dry ice blasting → often 80–250+ CFM
Air tools → 5–20 CFM per tool
👉 Always base your sizing on the highest demand tool, not the average.
Step 2: Check the Required Pressure (Bar)
Next, look at pressure.
Most blasting applications run at:
7 bar (standard cleaning)
10 bar (heavy coatings, stubborn contamination)
👉 Important:
Pressure doesn’t create airflow — but your compressor must maintain both pressure AND CFM at the same time.
Step 3: Adjust for Continuous Use (Very Important)
This is where most people get it wrong.
If your application is continuous (like blasting), you cannot run the compressor at 100% capacity.
Rule of thumb:
Add 20–30% extra CFM for continuous use
Example:
If your nozzle needs 140 CFM:
Minimum compressor = 170–180 CFM
Step 4: Account for Hose Length & Setup Losses
Airflow drops over distance — especially with long or narrow hoses.
You should increase capacity if you have:
Long hose runs (20m+)
Vertical blasting (e.g. towers)
Multiple couplings/restrictions
Undersized fittings
Typical allowance:
Add 10–20% extra CFM for losses
👉 Real-world example:
A 50m vertical blasting job can require a much larger compressor than expected.
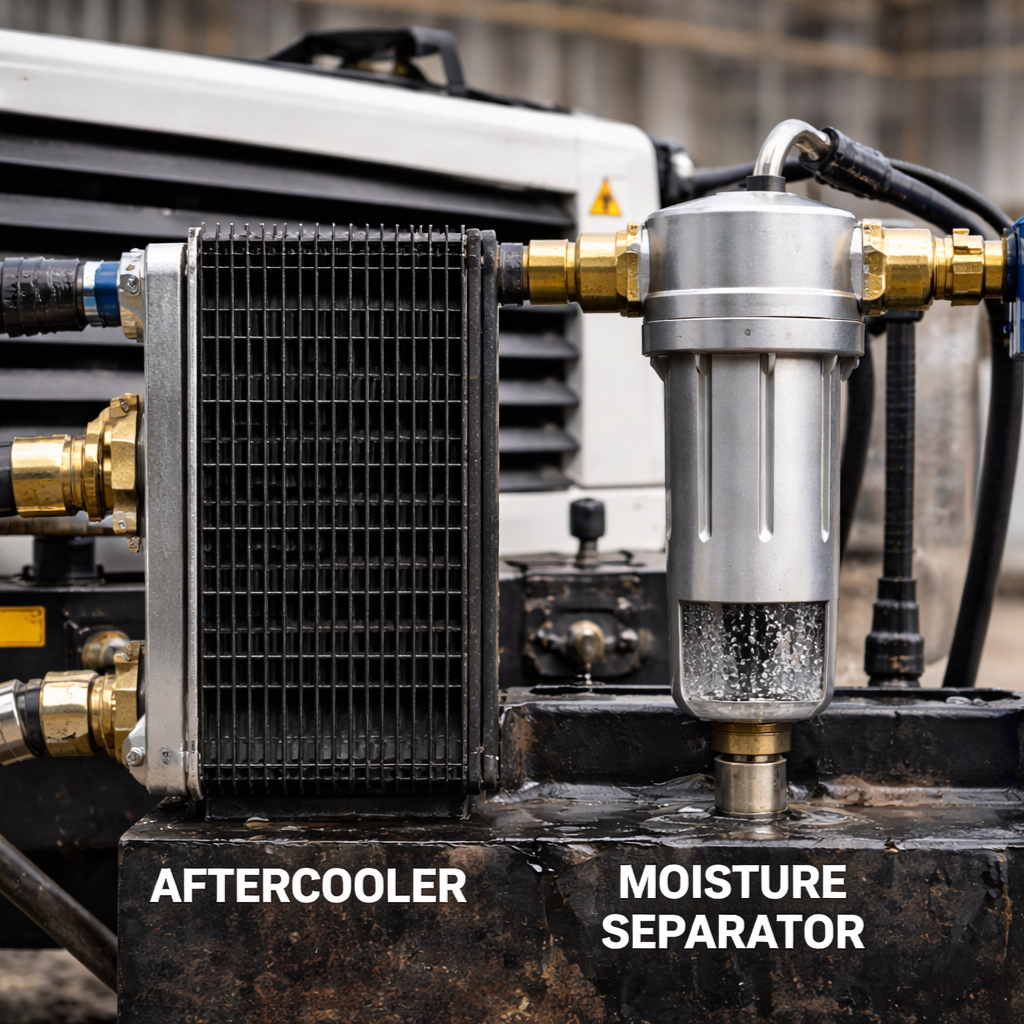
Step 5: Check Hose & Fittings (Hidden Bottleneck)
Even with the right compressor, poor setup can choke airflow.
Common mistakes:
Using 1/4" fittings on a high-flow machine
Running a 1/2" hose from a 3/4" compressor
Too many restrictive couplings
👉 Rule:
Your smallest restriction controls your airflow
Step 6: Allow for Future Growth
If there’s any chance the customer will:
Upgrade nozzle size
Run multiple tools
Expand usage
…it’s worth sizing slightly higher now.
Step 7: Final Sizing Formula (Simple Version)
You can use this quick formula:
Required Compressor CFM = Tool CFM × 1.25 (continuous use) × 1.15 (losses)
Example:
140 \times 1.25 \times 1.15
👉 Result: ~201 CFM
So you’d be looking at a 200+ CFM compressor, not 140 CFM.
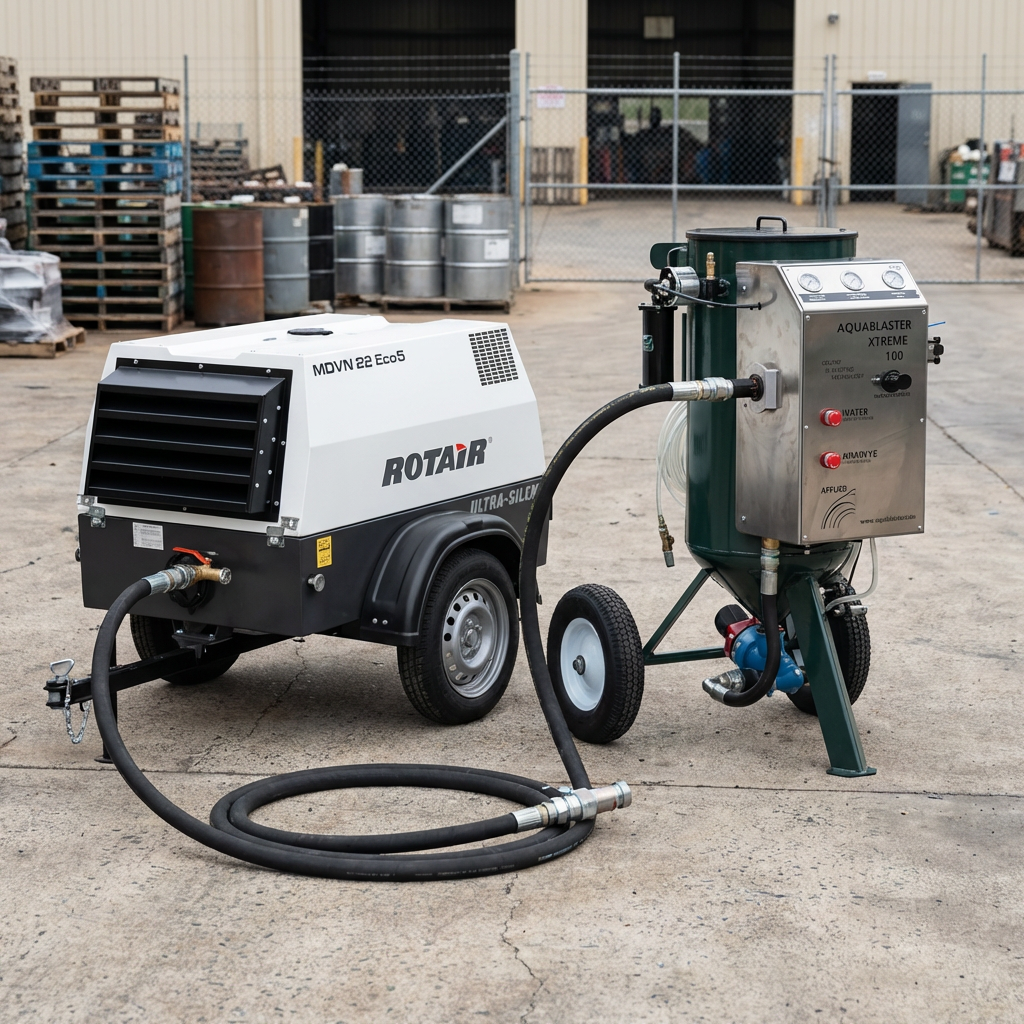
Step 8: Real-World Example (Blasting Setup)
Application: 8mm nozzle at 7 bar
Base requirement → ~250 CFM
Continuous use → +25% → 312 CFM
Hose losses → +15% → ~360 CFM
👉 Recommended compressor: 350–400 CFM range
Common Mistakes to Avoid
❌ Matching compressor exactly to tool rating
❌ Ignoring hose size and fittings
❌ Running compressors at full load constantly
❌ Assuming pressure = power
❌ Not accounting for real-world losses
Quick Sizing Checklist
Before choosing a compressor, make sure you know:
Tool CFM requirement
Required pressure (bar)
Duty cycle (continuous or intermittent)
Hose length and diameter
Number of tools running
Future usage plans
Final Thoughts
At CoolBlast, we don’t just supply compressors — we help you size them properly for your job.
If you’re unsure, get in touch and we’ll recommend the right setup based on your exact application.
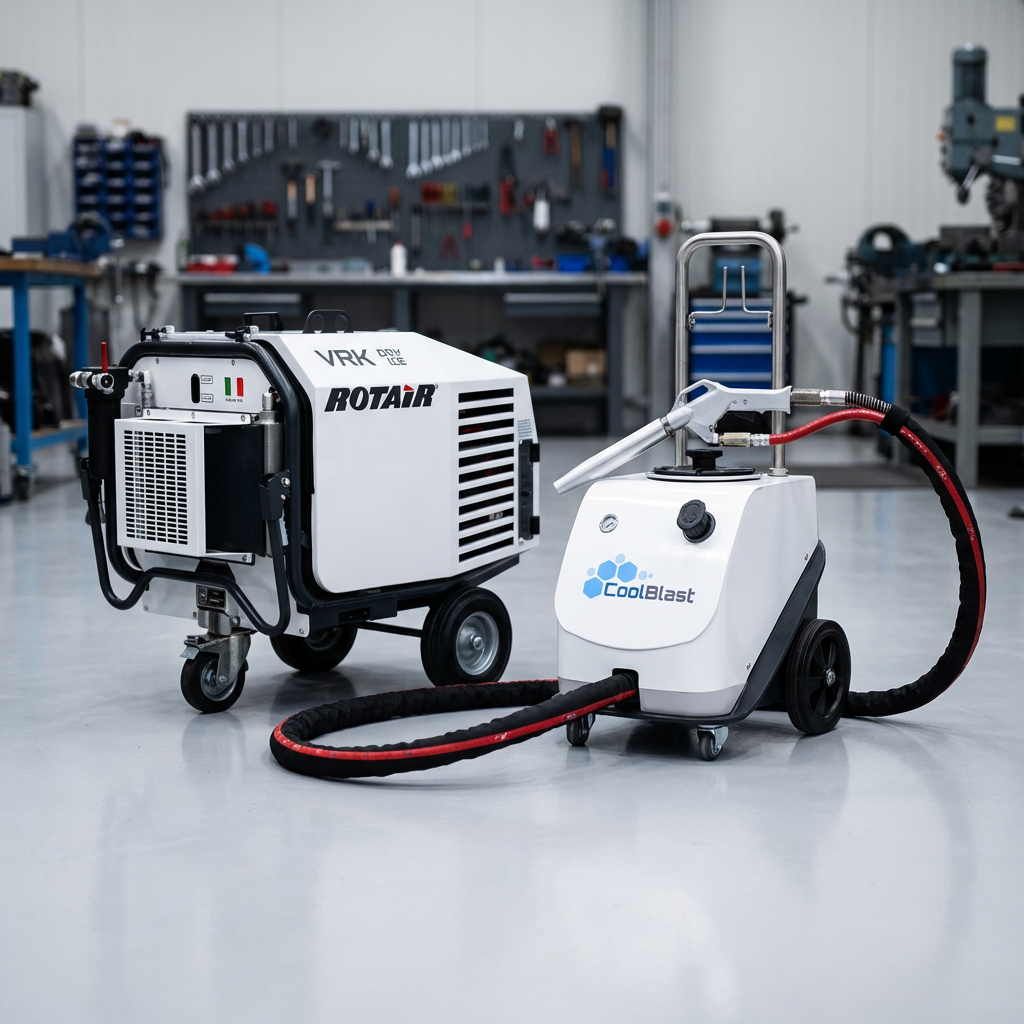
👉 Want to talk about our range of dry ice blasting machines? Contact CoolBlast for expert advice.
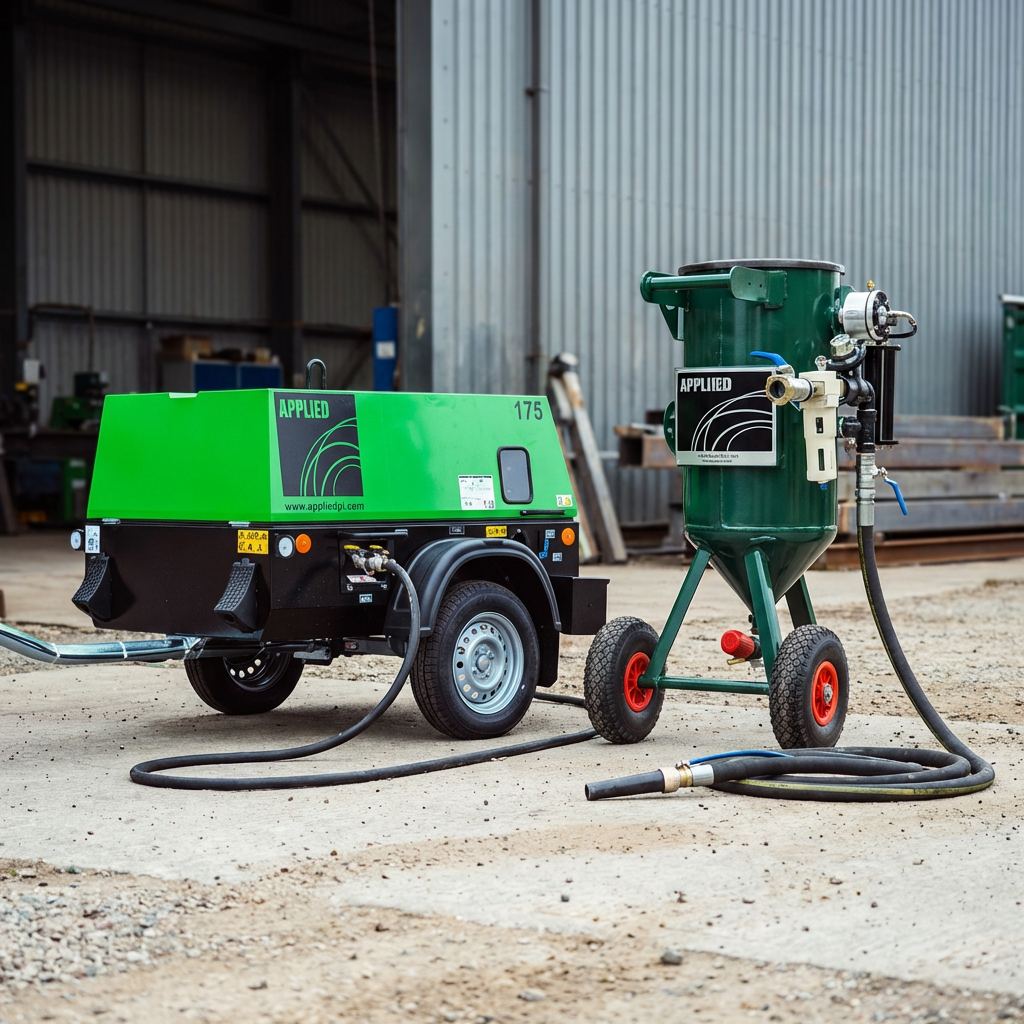
Portable and Diesel Air Compressors Guides
Choosing a Portable Diesel Compressor

Air Requirements and Compressor Sizing

Maintenance & Servicing Guide for Compressors
Best Diesel Air Compressors for Sandblasting
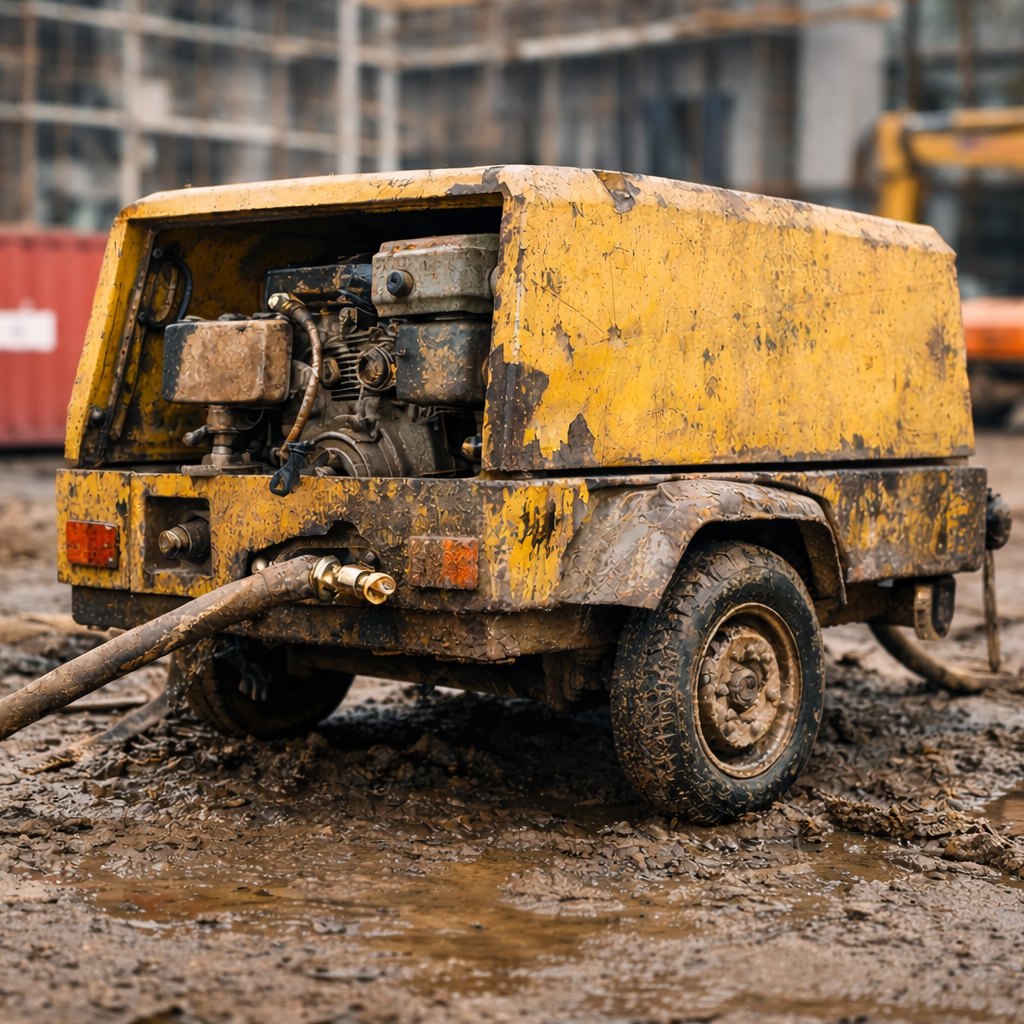
Cheap vs Premium Diesel Compressors
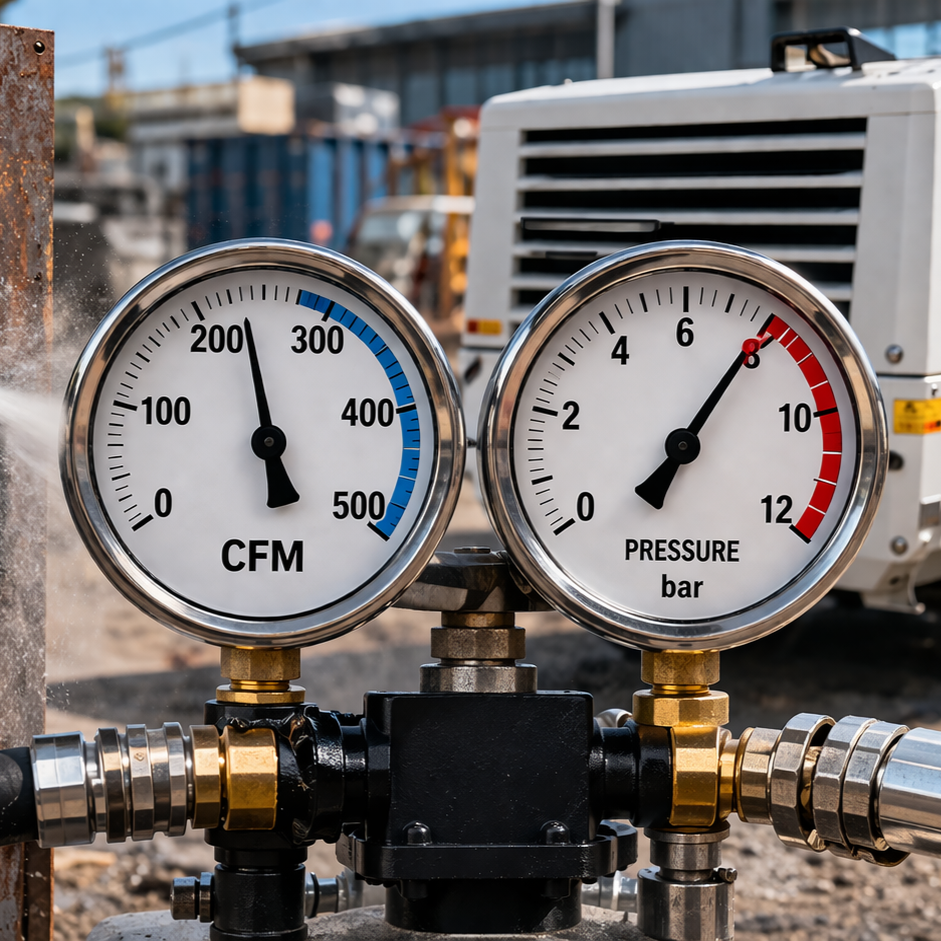
Airflow (CFM) vs Pressure (Bar)