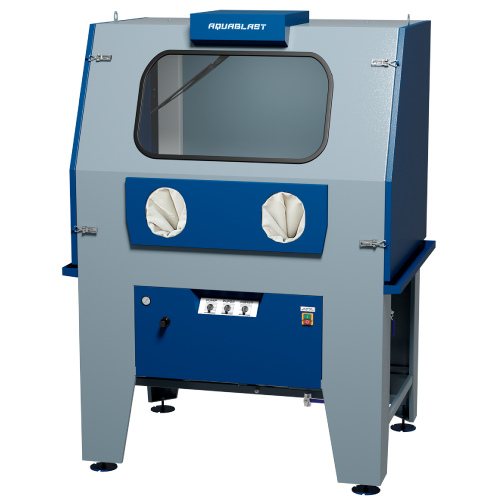
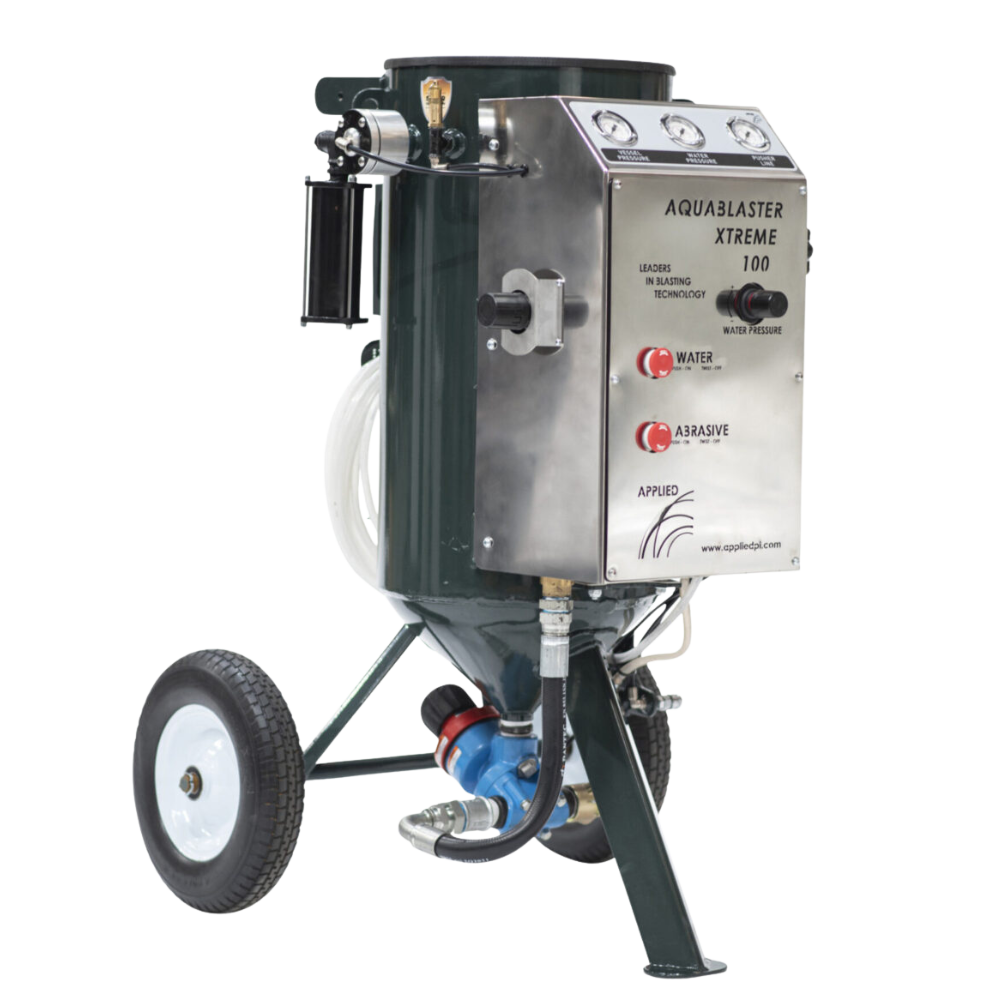
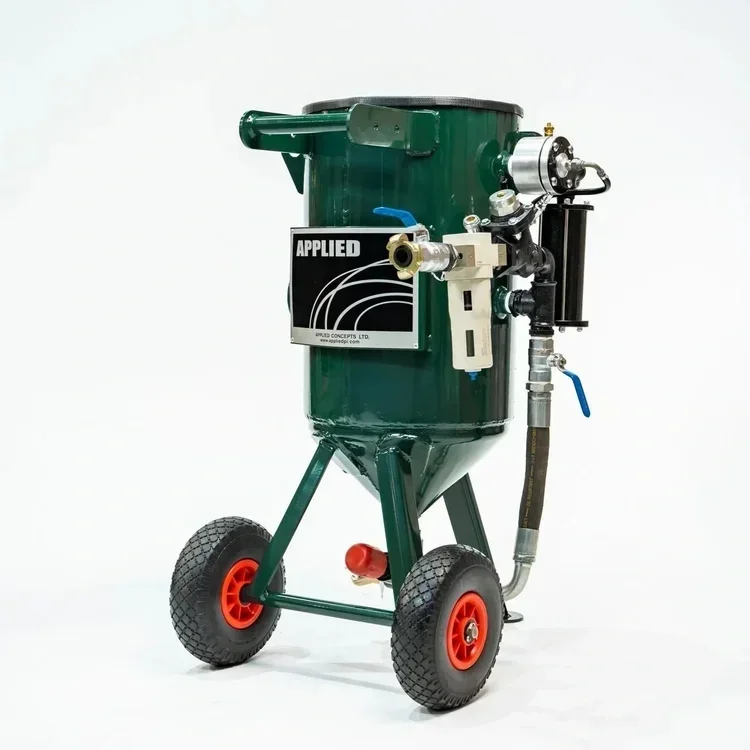
Aquablaster Guide
Internal & External Wood, Stone and Brick
PART 1 – DRY MODE (Internal Restoration Work)
Dry mode is ideal for internal timber frames, beams and brick infill like your exposed Tudor-style wall photos.
Use dry mode when:
You’re inside
You want minimal moisture in old structures
You’re removing paint, soot, bitumen, or heavy contamination
You need better visibility and control
1️⃣ Internal Oak Beams
Goal:
Strip paint without destroying character or rounding edges.
Starting Settings:
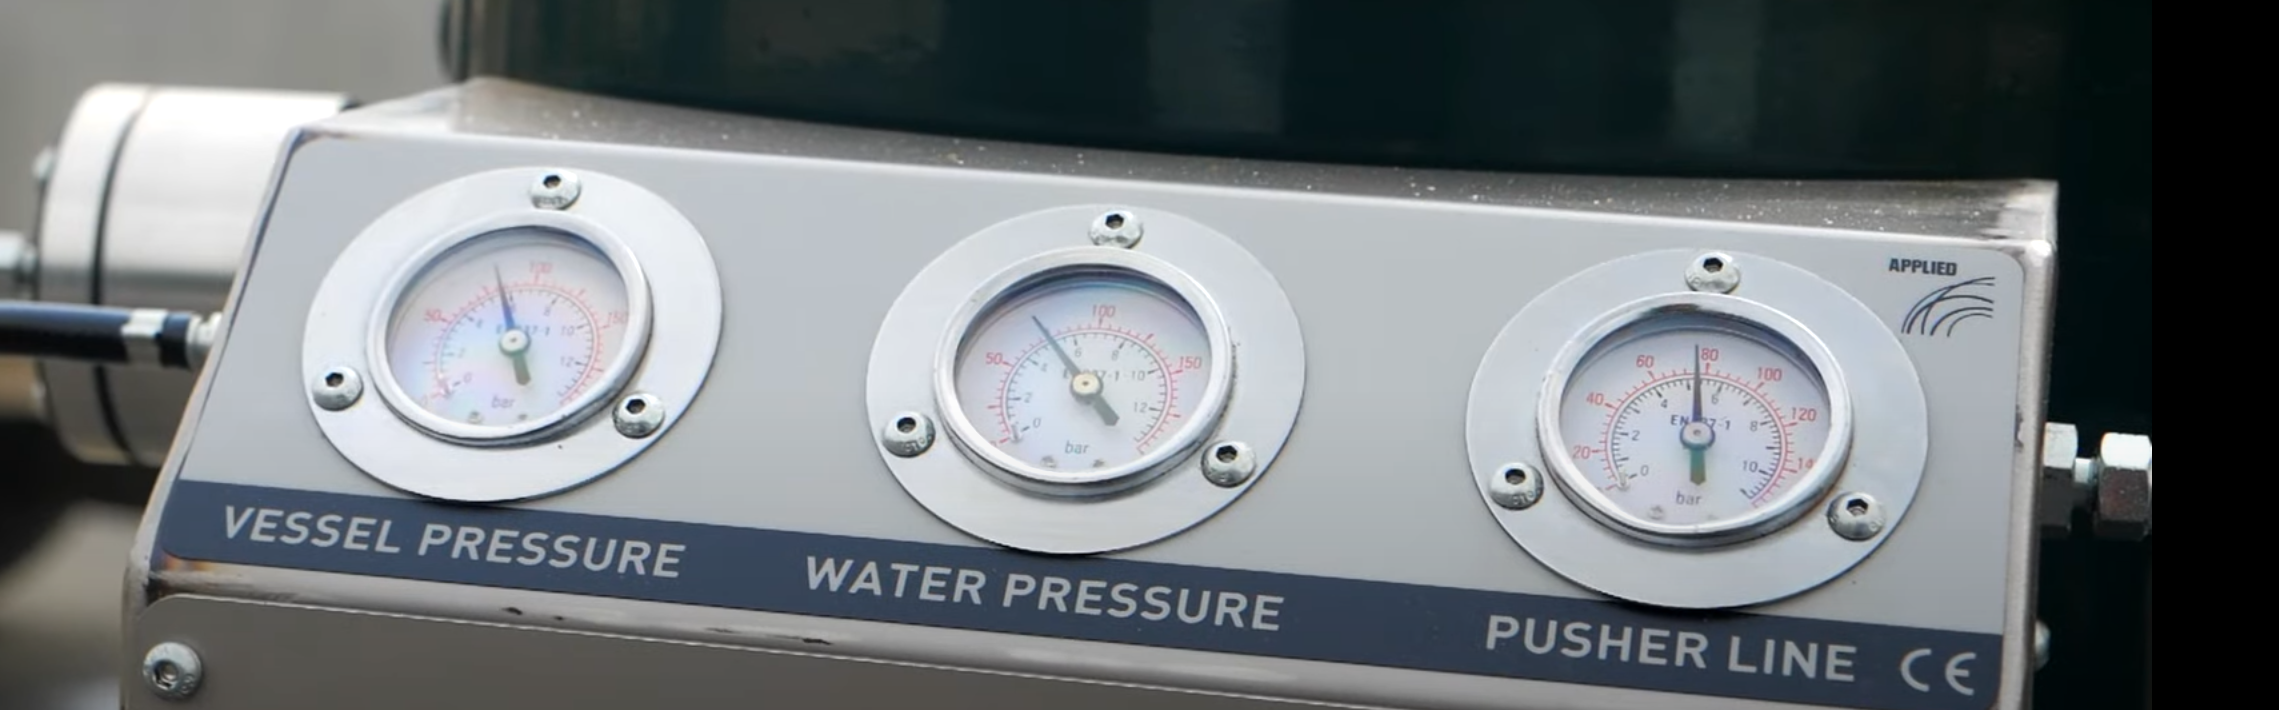
Pressure: Low–Medium
Abrasive: Very Low to Low
Water: OFF
Nozzle distance: 300–400mm
Key Technique:
Keep nozzle moving constantly.
Work with the grain.
Multiple light passes > one aggressive pass.
Adjustments:
If paint isn’t shifting:
→ Increase abrasive slightly (not pressure first).
If timber starts to “fluff”:
→ Reduce pressure immediately.
⚠ Old oak is softer than it looks — let the media do the work.
2️⃣ Internal Brick Infill
Goal:
Remove modern paint while keeping brick face intact.
Starting Settings:
Pressure: Low
Abrasive: Low
Water: OFF
Nozzle angle: 30–45°
Technique:
Don’t blast straight into mortar joints.
Keep consistent distance.
Work in sections.
If mortar starts eroding:
→ Drop pressure.
→ Increase stand-off distance.
Dry mode internally gives you:
✔ Cleaner working conditions
✔ Less mess inside
✔ Better control around historic timber
3️⃣ Internal Stonework / Fireplace Areas
Goal:
Remove paint and soot without softening lime mortar.
Starting Settings:
Pressure: Low
Abrasive: Very Low
Water: OFF
Old lime mortar is fragile.
If joints start breaking down:
→ Stop.
→ Reduce pressure.
→ Increase distance.
For heritage properties, dry mode is usually safer than adding water internally.
PART 2 – WET MODE (External Work)
Water externally gives you:
✔ Dust suppression
✔ Cooler surface
✔ Gentler impact
✔ Cleaner finish
Perfect for your external garage doors and painted brickwork photos.
4️⃣ External Painted Brickwork
Goal:
Remove failing paint without damaging brick face.
Starting Settings:
Pressure: Low
Abrasive: Low
Water: Medium
Nozzle angle: 30°
Why Water Helps:
Cushions the abrasive
Reduces dust dramatically
Prevents overheating
Reduces risk of brick scarring
If paint is stubborn:
→ Increase abrasive slightly.
→ Keep water moderate.
If brick face starts pitting:
→ Increase water.
→ Reduce pressure.
Never chase speed on old brick.
5️⃣ External Timber Doors
Goal:
Strip failing paint without gouging timber.
Starting Settings:
Pressure: Very Low
Abrasive: Very Low
Water: Medium
Water is critical here — it softens the hit and stops burning/furring.
Technique:
Work in long vertical passes.
Stay off edges and mouldings.
Don’t dwell on knots.
If grain raises:
→ Reduce pressure.
→ Increase water slightly.
For softwood doors, wet mode is far safer than dry.
6️⃣ External Timber Frame Restoration
When working externally on beams:
Pressure: Low
Abrasive: Low
Water: Medium
Water prevents:
Fibre tearing
Heat damage
Dust clouds
Over-texturing
If you want a “cleaned but aged” look:
→ Lower abrasive.
→ Slightly increase water.
→ Use slower passes.
Fast Troubleshooting
Too aggressive?
Drop pressure first.
Then reduce abrasive.
In wet mode → increase water.
Not removing coating?
Increase abrasive slightly.
Then raise pressure carefully.
Mortar failing?
You’re too aggressive.
Increase distance.
Reduce pressure.

Critical Operator Tips (Especially on Period Properties)
Always do a test patch.
Keep consistent stand-off distance.
Don’t chase speed.
Old lime mortar and oak are softer than you think.
Let abrasive volume do the work before pressure.
👉 Want to see if vapour blasting is right for your project? Contact CoolBlast for expert advice.
Sand Blasting and Grit Blasting Guides
Buyers Guide to Sand / Grit Blasting Machines

Choosing the Best Abrasive Media for Your Blasting Jobs
Buyers Guide to Compressors for Sand / Grit Blasting
The Cost of UK Blasting Materials
Vapour, Water and Dustless Blasting Guide

Nozzle Sizing Guide for Sand Blasting
Aquablaster Guide - Pressure, Abrasive & Water